How to cut fabric accurately
9 top tips
If you want to sew patchwork more precisely, think about how you cut your fabric. Better cutting techniques make a huge difference when you sew fabrics back together. That’s because fabric that’s cut out accurately will piece back together precisely.
I make lots of time at my workshops to teach cutting techniques. We use scrap fabrics so there’s no pressure! If you can’t make it to a workshop, or if you want to fine tune your cutting techniques, here are my nine top tips. On their own, each one might make only a small difference – perhaps a fraction of an inch. Add those up over an entire quilt and the difference can be huge!
All of these tips are easy to put into practice, most just need a little thought and not much else.
1. Pick the right fabrics
Accurate patchwork starts before you even touch your fabric. Modern quilting cotton fabrics will generally give you the best results. You can make patchwork quilts with pretty much any fabrics, from denim to silk, but some can take more experience and/or other techniques to look great. So, if you’re a beginner, I recommend medium weight quilting cotton, ideally bought new. You can make patchwork from pre-loved fabrics too, of course. Just think about the points below before you start cutting.
2. Don’t pre-wash
Here’s a controversial one: I don’t pre-wash my fabric. Some quilters do, some quilters don’t, and most will argue strongly for their preference! I don’t pre-wash because modern cotton fabric is made using ‘sizing’ – a solution that’s applied to the fibres for the weaving process and makes the finished fabric slightly stiff. This stability is really useful for accurate cutting, so I prefer to leave the sizing in.
Another reason to pre-wash is because new fabric shrinks slightly when it’s washed for the first time. You can expect new quilting cottons to shrink by up to 5% so many modern quilters like to pre-shrink their fabrics before use. When shrinkage happens after the patchwork has been pieced together and quilted, it creates a distinctive, puckered effect around the quilting stitches. Personally, I love that look for a quilt so I don’t like to pre-shrink by pre-washing.
That said, there are a few good reasons to wash first:
• If you know that sizing irritates your skin.
• If you’re using a mix of modern and vintage fabrics (which might shrink at different rates).
• You’re not sure if your fabrics were made with colour-fast dyes (bleeding dye could stain other fabric in a quilt).
3. Press don’t iron
Chances are your fabric will have been folded when you bought it or while you’ve stored it. Folds make creases which mean that the fabric won’t lie completely flat. This can make it tricky to cut accurately so it’s best to try to remove most of the creases.
Now, I know you know how to use an iron but, for this purpose, I recommend pressing, not ironing. Ironing - moving an iron around over fabric with continuous pressure – can stretch fabric out of shape. Pressing – placing a hot, dry (no steam) iron onto the fabric before lifting it up and pressing it back down on another area of the fabric – will keep the fabric stable and your sewing more accurate. For stubborn creases I use some spray starch.
4. Use the right tools for the job
Now you’re ready to cut, do you have what you need? A combination of three tools will help you to cut accurately:
• Self-healing cutting mat
• Acrylic rulers
• Rotary cutter
We learn to use these tools on my beginners patchwork and quilting course. If you can’t make it to a workshop, there are countless online tutorials and blog posts that might help.
5. Be careful!
Cutting can be tough on your back. Ideally, try to cut on a surface that it at your waist height – kitchen islands are usually great for this – to reduce the amount of bending. If you find cutting tough on your wrists, there are lots of ergonomic rotary cutters on the market and you can also buy a handle for your big ruler. This made all the difference for a student of mine recently. Sore, tired bodies make mistakes so take care and take breaks.
6. Stay sharp
Before you start cutting, make sure your rotary cutter blade is nice and sharp. Lots of quilters recommend using a new blade for every new project. I don’t think it’s always necessary but if you can’t remember when you last changed the blade, use a new one. If your blade stats to catch or doesn’t quite cut through the fabric in places, change it.
7. Measure twice, cut onCe
The quilter’s mantra: double check your measurements before you cut! Such a simple step that always makes a difference.
8. Practice, practice, practice
If your cutting needs some work, take the time to practice. Any old scraps will do. Plus, the more you make, the better your cutting (and piecing) will become over time so don’t give up. We’re just trying to be a bit better – not perfect!
9. Use pre-cut fabric
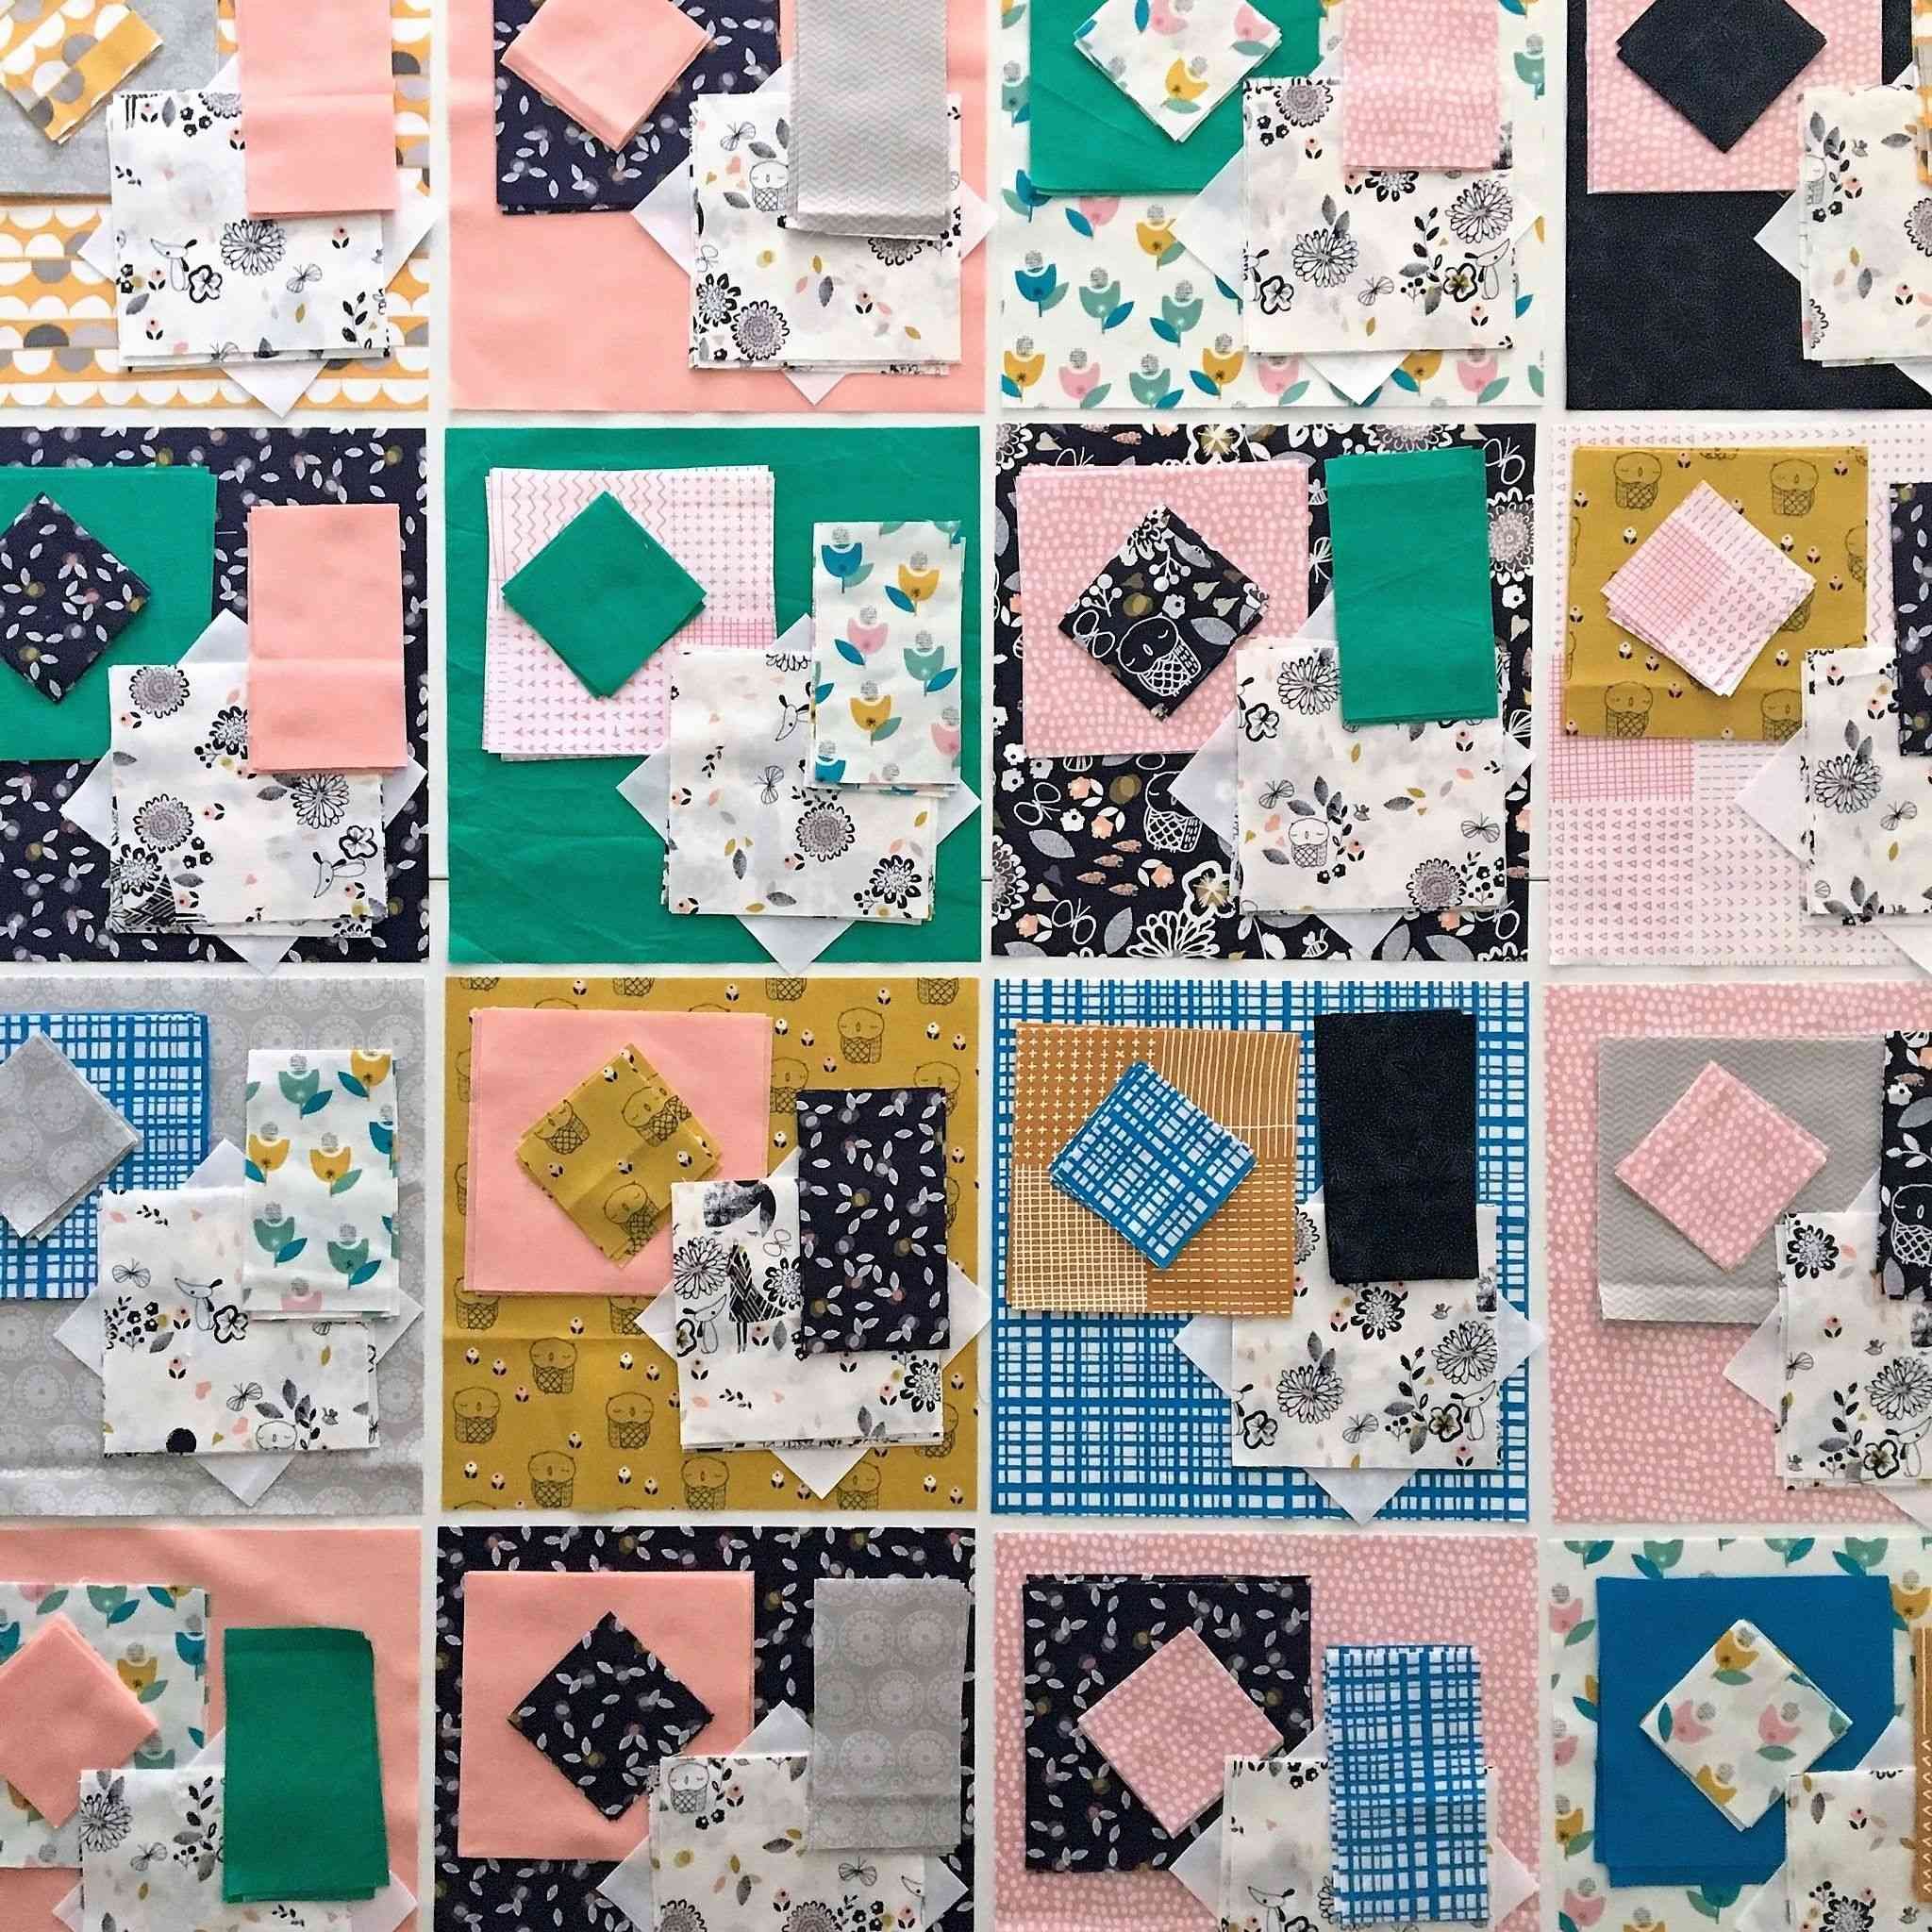
If you’ve tried tweaking your techniques and cutting is still no fun for you, don’t worry. You can make patchwork quilts for the rest of your life just using pre-cut fabrics. Charm packs (5” squares), layer cakes (10” squares) and jelly rolls (2.5” x 42” rectangular strips) are incredibly versatile, especially in combination with each other. There are so many online patterns for pre-cute, many of them available for free. Try using Pinterest or Instagram for inspiration.
I’ve been tweaking my fabric cutting techniques through trial and error over ten years of quilting. I really hope they work for you too!


