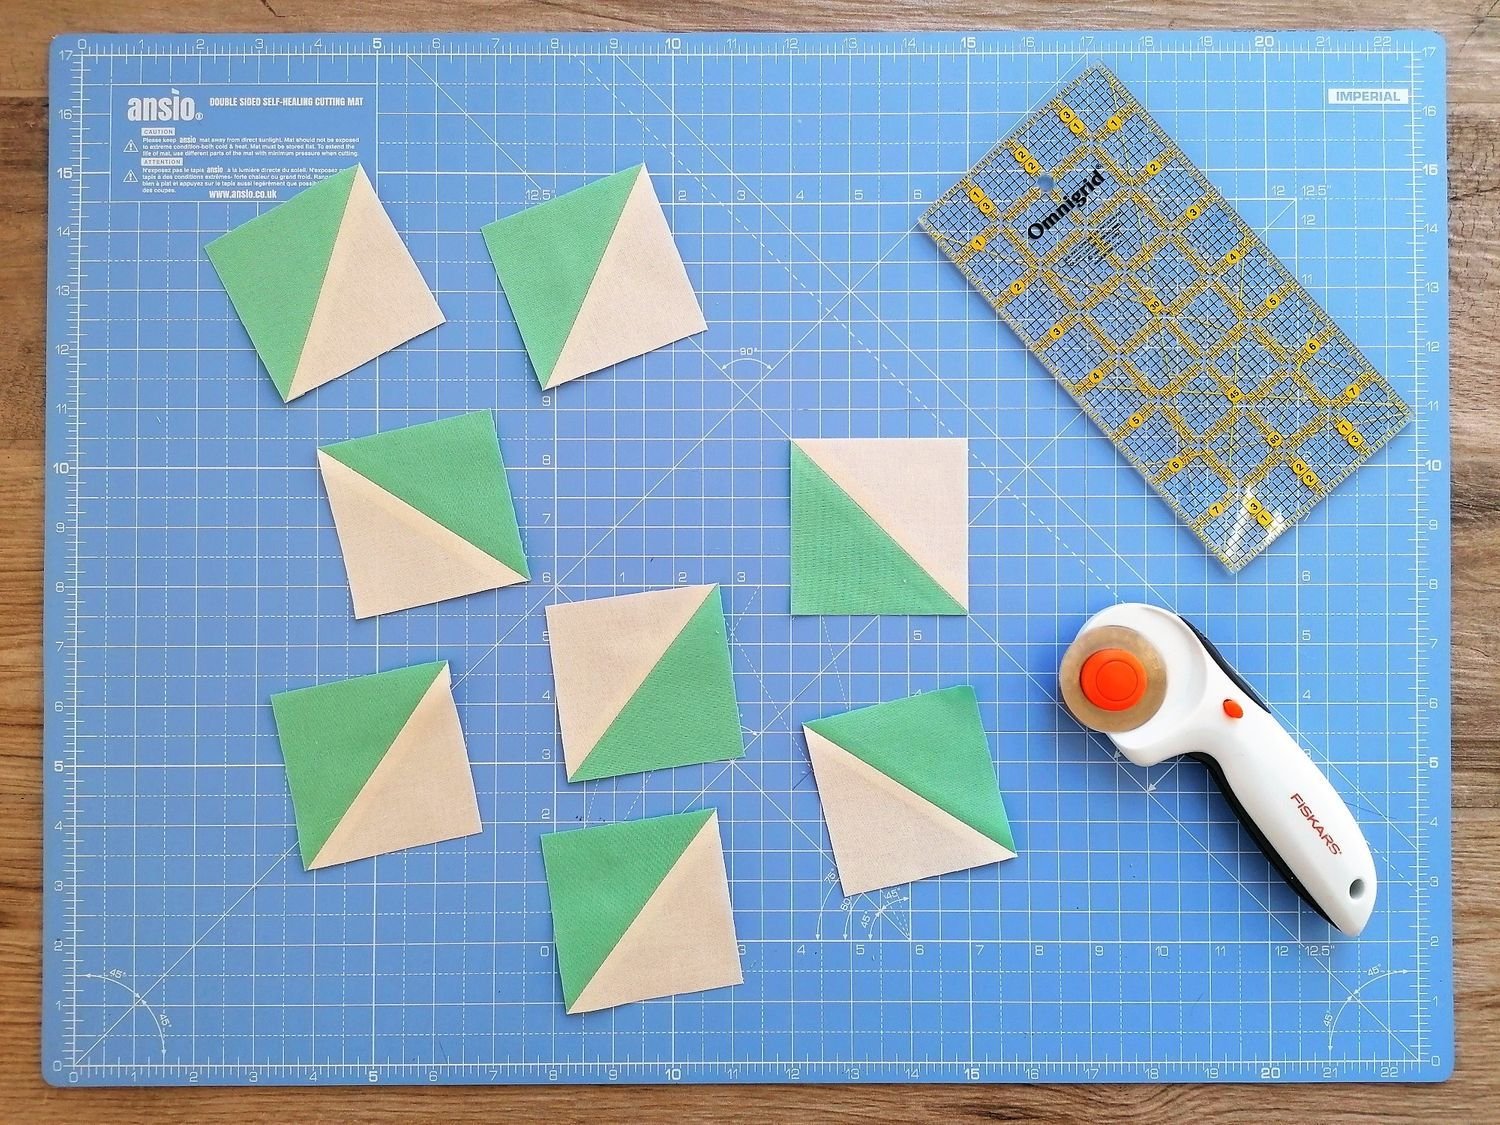
How to make eight half-square triangles at a time
Half-square triangles are the backbone of modern quilting. Once you know what half-square triangles are, you’ll recognise them in thousands of patchwork quilt patterns. They’re everywhere! That’s because they are easy to make and can be used to create a huge range of patchwork blocks and quilt designs.
Half-square triangles - known as HSTs - are made using a simple but brilliant method that turns two squares of fabric into triangles, without cutting ‘on the bias’. Bias cuts - fabric cut diagonally across the straight and cross grains of the fabric fibres - are stretchy and can be pulled out of shape very easily. To make a patchwork quilt, we don’t usually cut on the bias because the stretch and movement in the fabric can make it difficult to sew the patchwork pieces together precisely.
HSTs are the perfect solution to this problem. They are made from two squares of fabric, sewn together diagonally from one corner to the opposite corner and then cut. The sewing line locks the fabric fibres in place so that, when the squares are cut in half into triangles, they won’t stretch out of shape.
The Minton Quilt block includes HSTs and, to save time and fabric, the pattern shows you exactly how to make them in sets of eight at a time. This is sometimes called the ‘magic 8 method’. My version makes them slightly over-sized so that they can be trimmed. Trimming helps you to create really accurate HSTs, every time!
This tutorial will guide you through every step of the process. Click through each set of slides below for detailed, step-by-step photographs and instructions to use alongside the Minton Quilt pattern.
Kathleen x
Steps 1 - 4
Have your copy of the Minton Quilt pattern ready to make sure you have the correct fabric squares.


1 To make eight half-square triangles at a time, you will need:
A cutting mat, rotary cutter and quilting ruler(s)
Pins
A marking tool (such as a fabric pen or pencil, tailors chalk or Hera marker - I like to use a Papermate pencil)
A 7 1/2 “ x 7 1/2” square of fabric C and a 7 1/2” x 7 1/2” square of fabric E.
2 Place the two squares together, right sides facing, and mark two diagonal lines on the wrong side of one square.
3 Pin the squares together, ready to sew.
4 Sew on both sides of both marked line - each line of stitches should be ¼” to either side of each marked line.
Steps 5 - 8
Before cutting, always double-check the measurements in the pattern and the position of your ruler and cutting mat to avoid errors.


5 Cut along the two marked lines.
6 Cut in half vertically.
7 Cut in half horizontally.
8 Seperate out into eight half-square triangle units.
Steps 9 - 12
Now let’s make those half-square triangles exactly the right size for our Minton Quilt block.


9 Press all the seams open.
10 Take each half-square triangle and align the diagonal seam with a diagonal line on your cutting mat.
11 Use a quilting ruler and rotary cutter to trim each side of the square so that the finished HST measures 3” x 3”.
12 Each trim should be relatively even and the HST seam line should still run diagonally from one corner to the opposite corner.
Remember: measure twice, cut once: double check your measurements and/or the position of your ruler and cutting mat before trimming.
Now you have eight perfectly trimmed, accurate half-square triangles ready to make two Minton Quilt blocks!
Kathleen x


